
Working with the vLab
Boot screen:
The vLab image is basically just an adapted debian stretch image (A linux based operating system). We removed most software/ui elements that are not relevant for doing this course. So if you are not familiar with linux yet, don’t worry, we’ll cover anything you need to know.
When booting you should see the following screen for a few seconds:
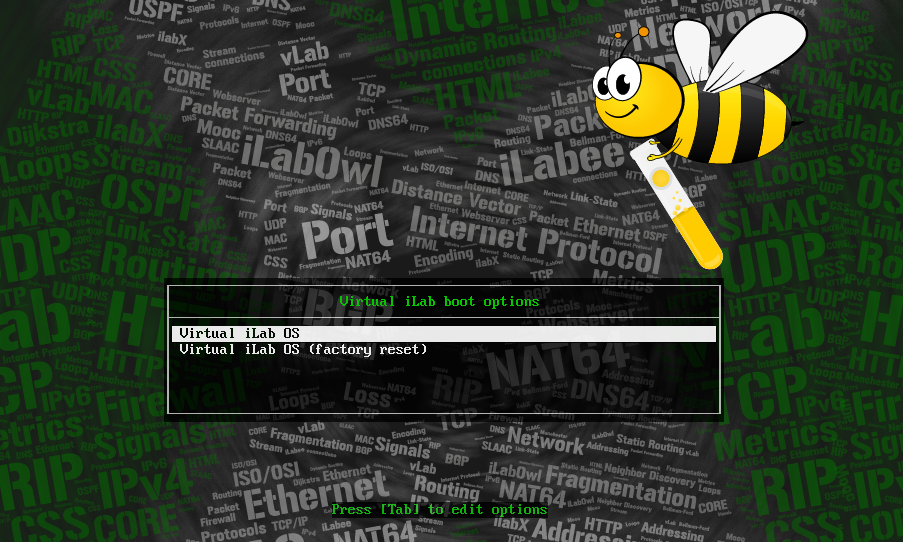
By default the vLab starts normally (first option). This means everything you did in the vLab (not CORE, see the CORE page) will be in the same state as when you shut the virtual machine down last time. This includes changed files, installed software, etc.
The second option is a factory reset. This tries to reset the vLab to the state it had when you freshly installed it. Be aware that his deletes/undos most changes you made since then. However, in case you somehow damage the system it offers a convenient and fast way to reset the vLab without having to re-download and re-install everything.
If not automatically chosen after a few seconds , pick the first option unless you really want to reset your system.
First start:
When starting the vLab for the first time you will be asked for your preferred keyboard layout. Just pick the one that fits for you, you can change it later in the bottom right of the vLab.
Available options:
On the right side of the vLab desktop you can find a menu with selected applications/shortcuts you will need throughout the course:

On the top of the menu we see installed applications, from top to bottom:
- VCC: In case you close the vLab Control Center you can restart it with the first icon.
- CORE: Clicking here starts the CORE network emulator tool. We will usually start this with the correct setup using the VCC (see description afterwards).
- Wireshark: Starts wireshark, a tool for sniffing network traffic which also works with our network emulator CORE.
- Firefox: The Firefox browser, which you might want to use if you want to browse the edX materials from inside the vLab or do some research required to proceed with the course.
- Terminal: Starts a Linux terminal (fish shell). This can be used to install new software or interact with core hosts. You can find more information on the Linux terminal in our Linux Terminal Introduction. No worries if you are not that familiar with Linux yet, the basics are relatively simple.

On the bottom of the menu we see some shortcuts:
- Help: Opens the help page of the VCC.
- Keyboard: Change your initially selected keyboard layout.
- Shutdown: Shuts the vLab down. Careful, all changes done in a running CORE session will be lost!
- Reboot: Reboots the vLab. Careful, all changes done in a running CORE session will be lost!
In the section about CORE we will show you a way how you can stop the vLab while keeping CORE running so that it is not reset once you start the vLab again.